
At photography courses calgary, I offer small group landscape photography workshops in Calgary and surrounding areas.
Introduction to White Balance
If you’ve ever taken photos indoors without a flash, and wondered why everyone looks so orange or the scene’s color is really awful? You need to select the correct white balance to ensure that your scene or people has the correct white balance. If you shoot in JPEG, you cannot change the white balance after you have taken the photo. However, if you shoot in RAW, you can change the white balance in post processing.
White balance can be difficult to master at first, but once you understand it a more, it becomes second nature and you will always select the proper white balance when taking a photo.
What Is White Balance?
The in-camera White Balance (WB) determines how accurately the colors in your photos come out. Specifically, it determines how ‘hot’ or ‘cold’ an image feels. By setting your WB accurately, it will prevent awful color cast i.e. blue, orange, yellow, etc. Your image will have an unnatural which can appearance.
Auto
Is pretty good if you don’t know what you’re doing. The “Auto” works well in sunlight, but not suitable in most situations.
Daylight
You would typically use this balance in daylight.
Shade
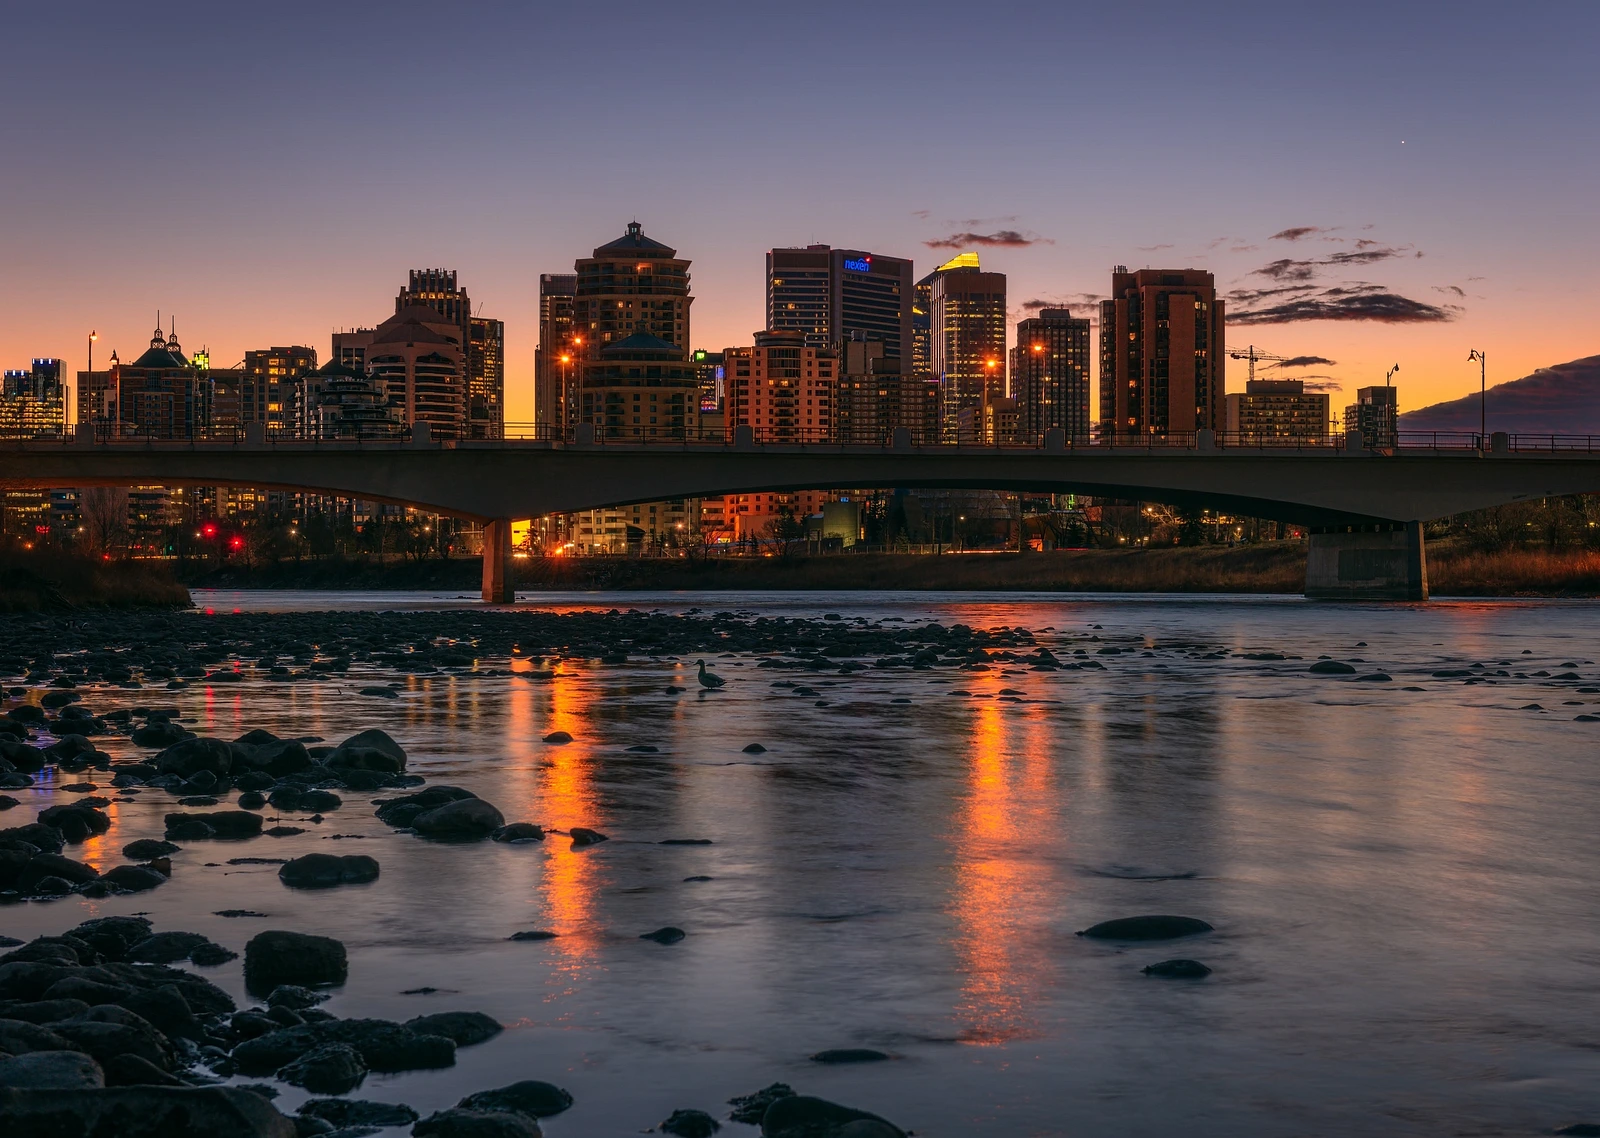
The “Shade” mode makes photos look a little warmer. I use this for sunset or sunrise or to make my outdoor photo warmer.
Cloudy
The “Cloudy” mode would be use during outdoor/cloudy conditions. I use this white balance when shooting a sunrise or sunset.
Tungsten
The “Tungsten” mode comes from incandescent bulbs found in your home. If left on auto instead, your photos will come out very warm with an almost orange color cast. Use your preview monitor on the back of your camera to see what the color of your scene will look.
Fluorescent
Custom:
This is used for setting the white balance accurately using a grey card – more about this in a moment.
Yves Gagnon
www.photographycoursescalgary.com